The Wizy Team is proud to announce that Form Workflow Plus is getting a redesigned User Interface! We’re in the final stages of rolling out an update to make the beloved workflow automation add-on sleeker and a whole lot easier to set up. Worry not for we haven’t removed any of the settings you’ve come to love. We simply reorganized them to streamline your setup experience.
We’re looking at launching these changes by week ending August 21st. Here are some of the features to look forward to:
We’ve added more Google Form sample templates
We’ve created sample templates for our most common use cases. Form Workflow Plus needs a Google Form linked to a Google Sheet to run. We made this the very first step in setting up your workflow. You can choose among the following templates:
- Leave Request Form
- Purchase Request Form
- Budget Request Form
- Room Booking Form
If you have an existing form, simply link it to the sheet.
Setup a basic workflow in 4 easy steps
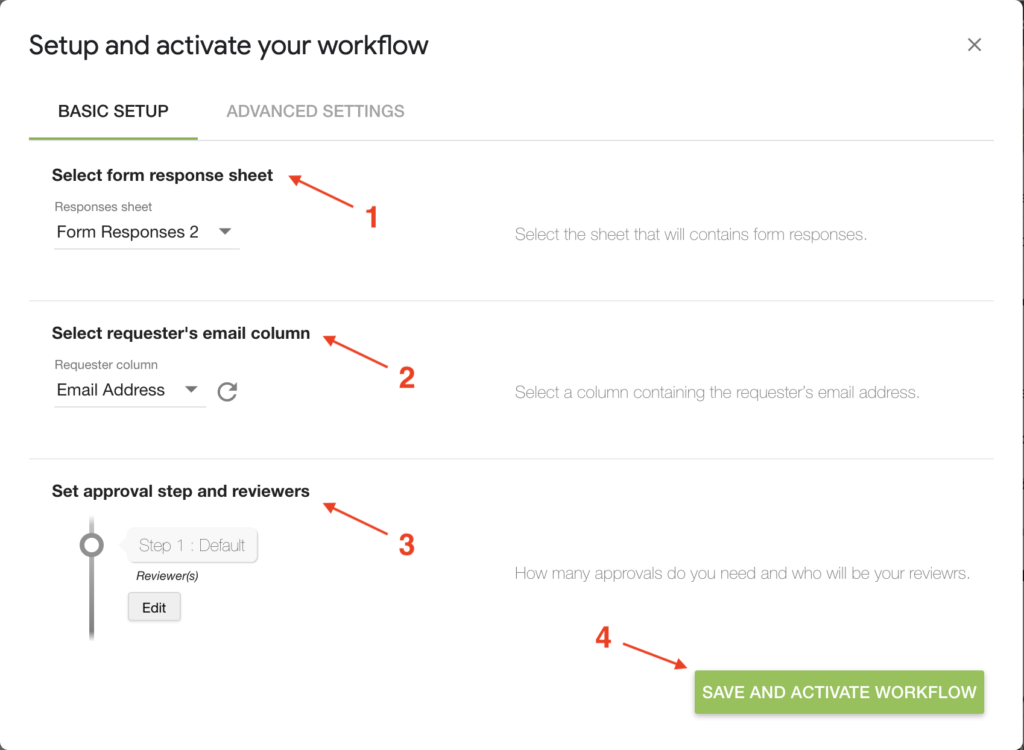
Now more than ever, we’ve placed the user’s experience at the front and center of our UI redesign. Taking inspiration from user feedback, we’ve put the essential settings to create a basic workflow in a single tab. The setup flow would proceed as follows:
- Select form response sheet – Specify the sheet where the form responses are collected.
- Select requester’s email column – Don’t leave your requesters hanging! Here you can specify the column containing the requester email address. That way, they would receive email notifications at each step of the approval process.
- Set approval steps and reviewers – This is the heart of the basic setup where you specify the approval steps and conditional approvals. Add as many as you need depending on your use case.
- Save and activate workflow – Once you’re all set, clicking this button will save all changes done and activate your workflow. Each form submission will trigger the add-on and forward the details to your specified reviewers.
All Advanced Settings in a single tab
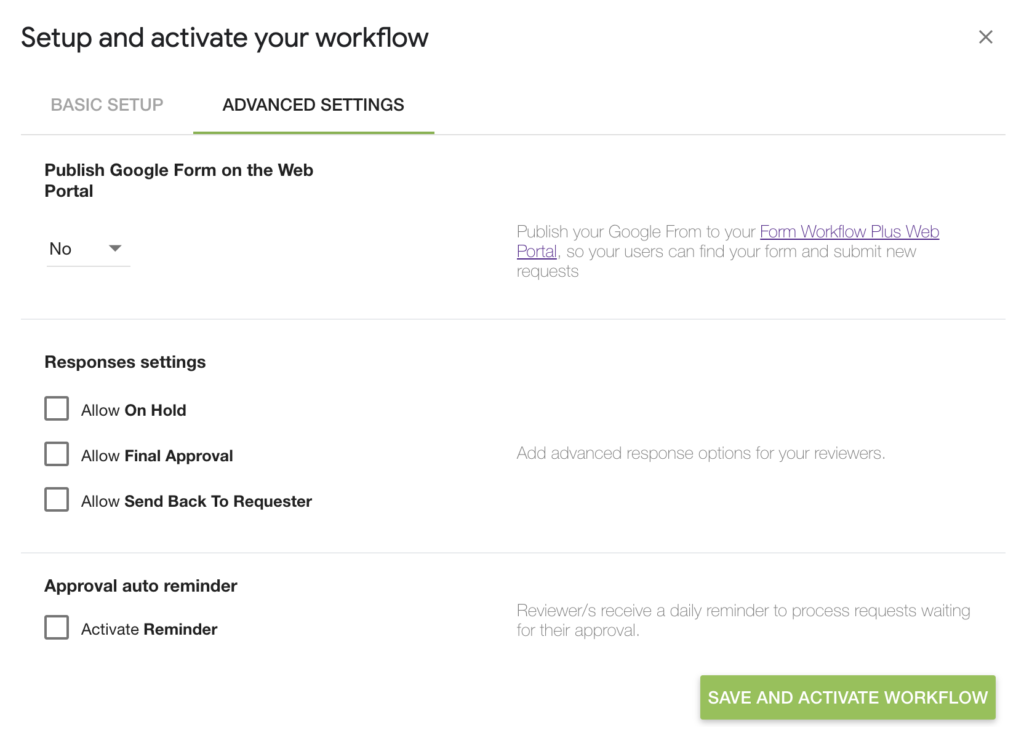
All the Advanced Settings that have made Form Workflow Plus a versatile tool are organized in a single tab. Once you’re set with the basic setup, you can further customize your workflow through the following settings:
- Publish Google Form on the web app – Publishing the form allows users to easily find the organization’s forms in a single place in the web app.
- Responses settings – You can activate On Hold, Final Approval, and Send Back To Requester
- Approval Auto Reminder
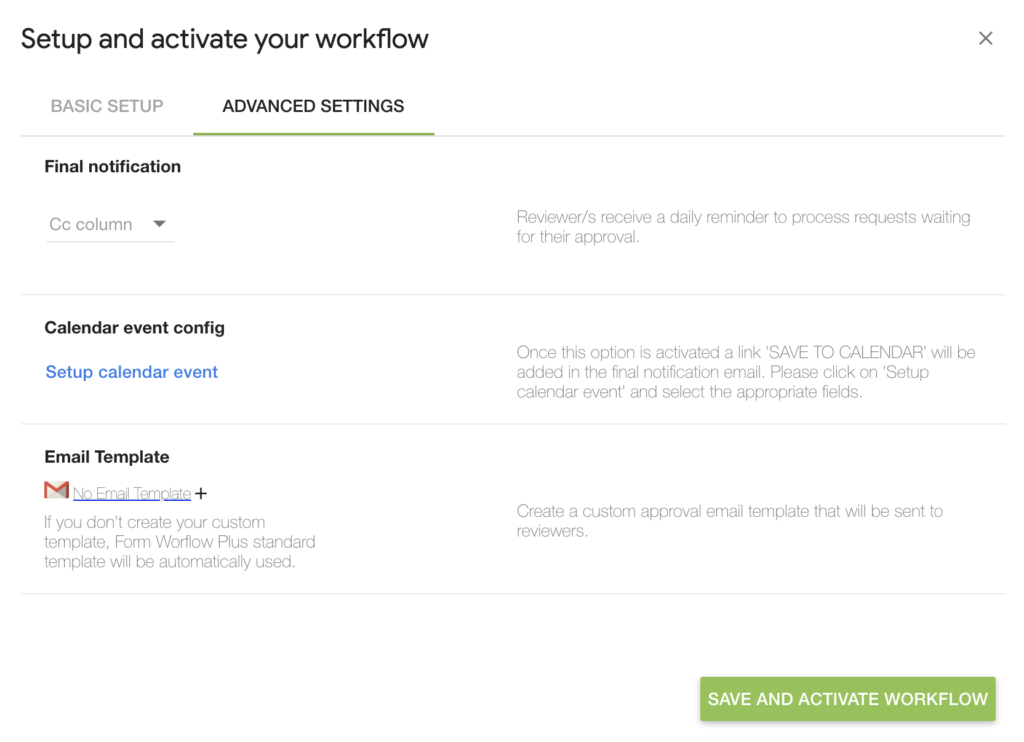
- Final Notification – Here you can specify a static list of people to be CC’d for the request’s final notification or specify a column containing the email address
- Calendar Event Config – When activated, the final notification email will include an option to set a calendar event based on the request details.
- Email Template – This allows the workflow creator to customize the approval email template
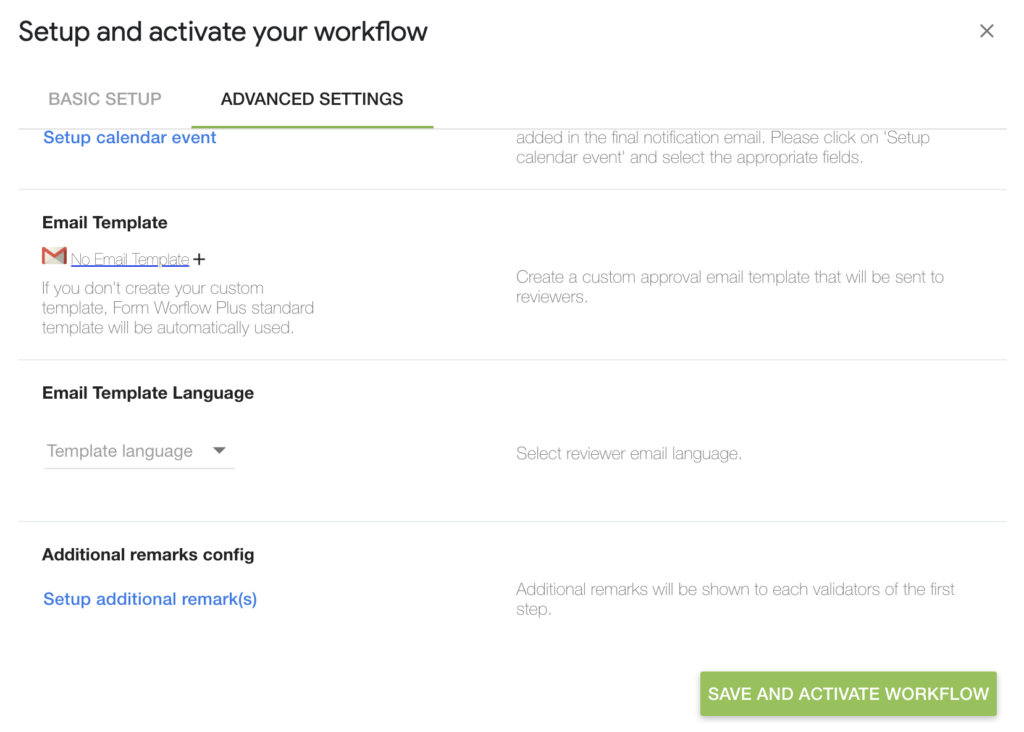
- Email template language – We currently cater to English, French, German, Spanish, Arabic, and Japanese languages.
- Additional Remarks Config – You can add up to 4 remarks which would be visible to all reviewers
Deactivate the workflow to update settings
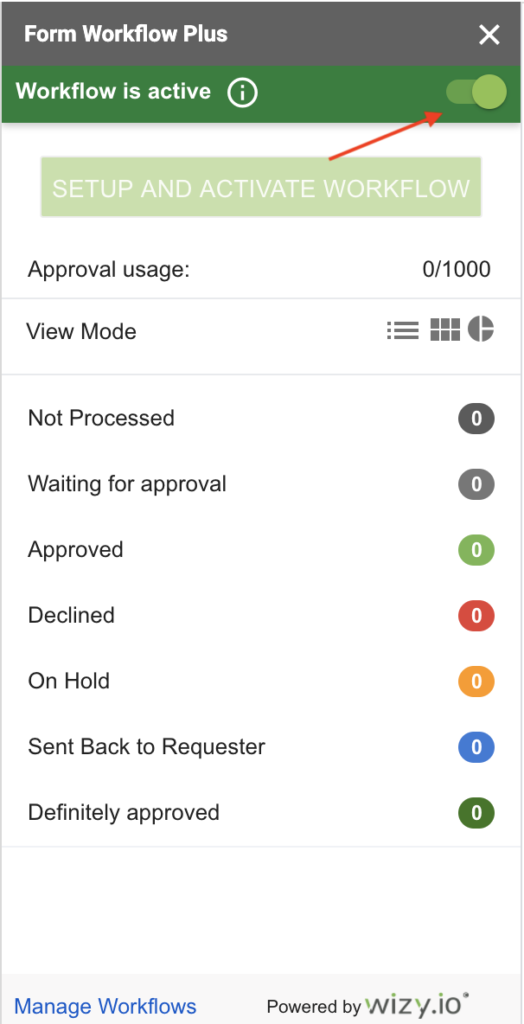
Activating the workflow would lock the workflow settings from any changes. If you need to update the basic or advanced setup, simply deactivate the workflow by toggling the activation button to the left then click on “Setup and Activate Workflow.”
Redesigned UI, the same 14-day Free Trial
If you haven’t started yet, Form Workflow Plus is a dynamic G Suite tool to automate your validation processes. Sign up for a 14-day free trial here.
You can also book a demo by clicking on this link!


Leave a Reply