
We launched a new version of Form Workflow Plus with improvements centered on ease of setup and better settings organization. What are the exciting changes?
The add-on initially checks if a Google Form is linked to the Google Sheet
Since having a Google Form collecting responses to a sheet is essential for Form Workflow Plus to work, we’ve made this the first thing the add-on checks. If you don’t have a form yet, you can choose from our list of starter templates!

Get the Edit Form URL to link an existing form
- The easiest way to use an existing Google Form is to run Form Workflow Plus on the Google Sheet collecting form responses.
- If your Google Form is not linked to a sheet yet, make sure to get the Edit Form URL. Have this handy before running the add-on. Search for the Google Form in your Google Drive then double click it to open the “Edit Form” view in a new tab. Take note of the URL, similar to the following:

The general format of the URL should be: //docs.google.com/forms/d/”Your_Google_Form_ID”/edit
Related article: Step 2 – Create your Form or link an existing one
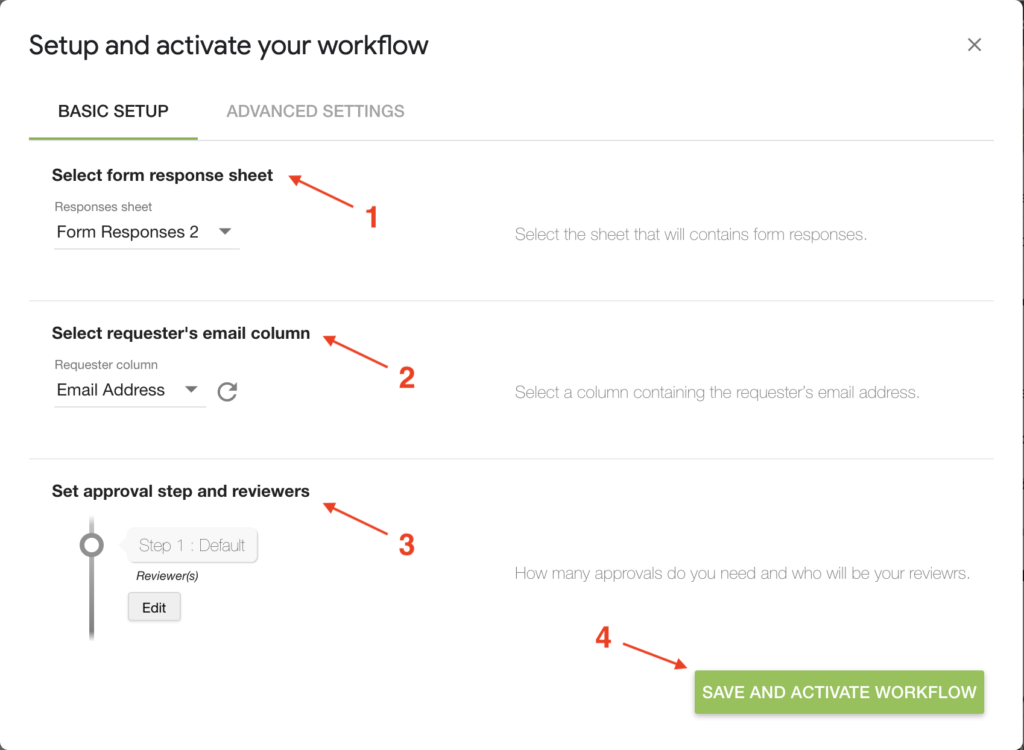
Basic Setup in 4 easy steps!

Now more than ever, we’ve placed the user’s experience at the front and center of our UI redesign. Taking inspiration from user feedback, we’ve put the essential settings to create a basic workflow in a single tab. The setup flow would proceed as follows:
- Select form response sheet – Let the add-on know which sheet collects the form responses.
- Select requester’s email column – Don’t leave your requesters hanging! Here you can specify the column containing the requester email address. That way, they would receive email notifications at each step of the approval process.
- Set approval steps and reviewers – This is the heart of the basic setup where you specify the approval steps and conditional approvals. Add as many as you need depending on your use case.
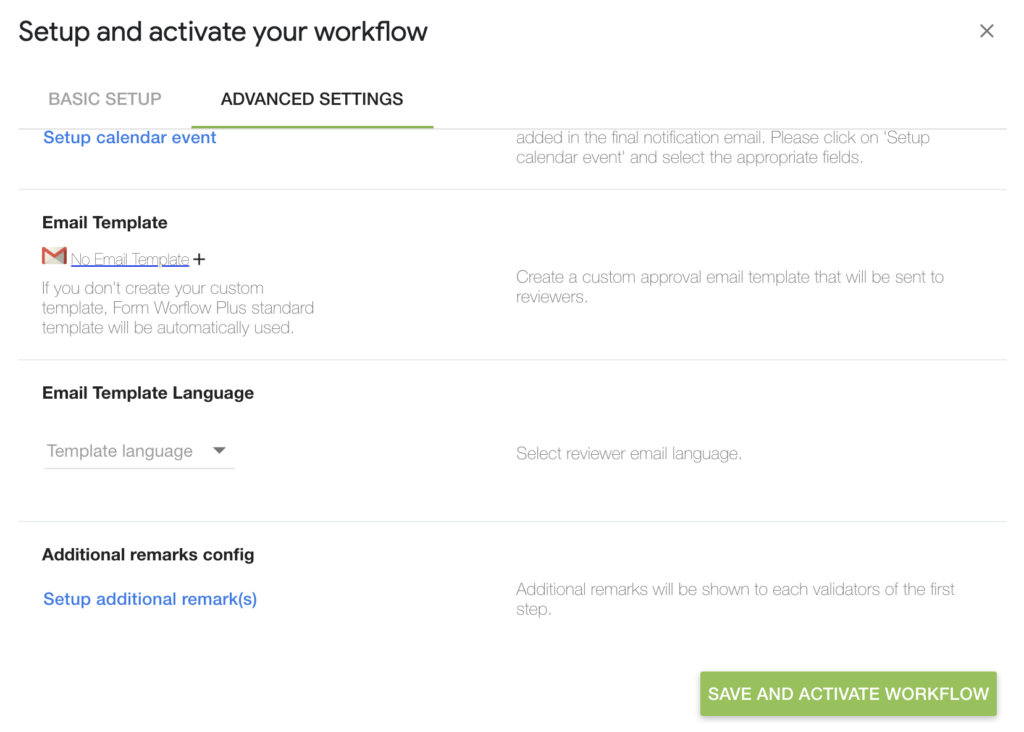
- Save and activate workflow – Once you’re all set, clicking this button will save all changes done and activate your workflow. Each form submission will trigger the add-on and forward the details to your specified reviewers.
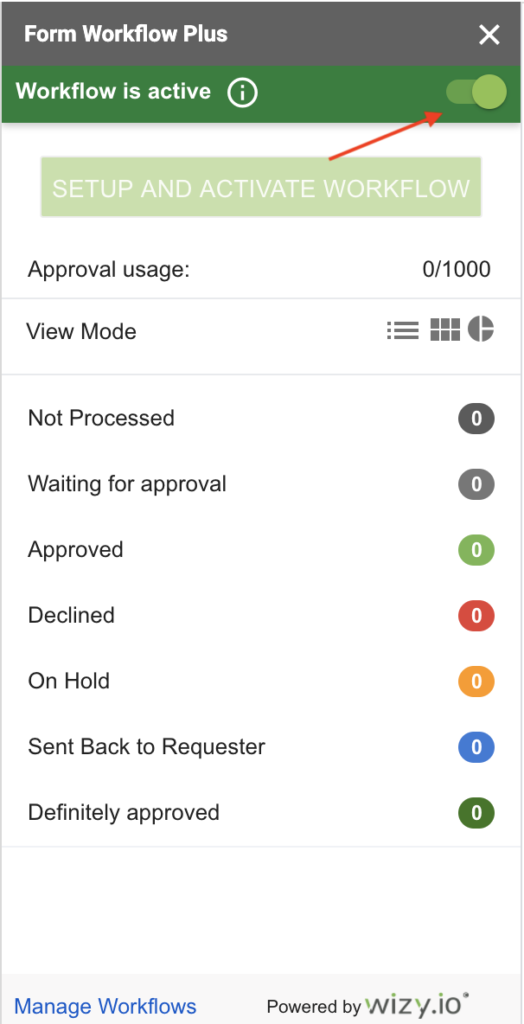
Deactivate the workflow to update settings
Activating the workflow would lock the settings from any changes. If you need to update the basic or advanced setup, simply deactivate the workflow by toggling the activation button to the left then click on “Setup and Activate Workflow.”


Recent Comments